
A bathroom mirror with LED lighting that dims or turns off in sections does not mean that the entire unit needs to be replaced. The LED strip or integrated module can be replaced, provided you understand what you’re handling. Because behind what seems like a trivial action, replacing an LED in a bathroom mirror raises questions of electrical insulation, technical compatibility, and compliance with current standards in wet areas.
Class II and reinforced insulation: what the technical status of the LED mirror changes
Most guides treat the replacement of an LED in a mirror as a simple bulb change. However, bathroom LED mirrors are increasingly presented as Class II equipment, meaning they are double-insulated devices that do not require a ground connection.
This classification has a direct consequence on the intervention: you are not just replacing a light source. You must check that the new LED module complies with the reinforced insulation of the original mirror. Installing a generic LED strip without verifying its compatibility with the connection box can compromise the safety of the whole unit.
Before disassembling anything, it is useful to locate the nameplate of the mirror (often on the back) to identify its electrical class and the supply voltage of the LED module. Knowing how to change the LED in a bathroom mirror starts with this technical reading step, which is too often ignored.
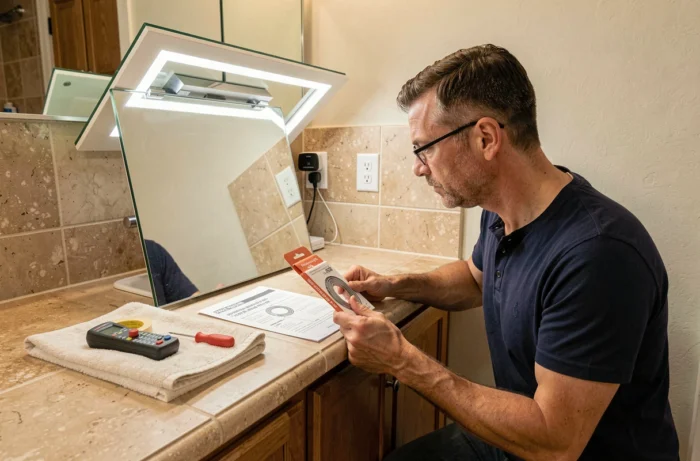
IP protection rating and installation zones in the bathroom
Replacing an LED does not exempt you from checking that the mirror remains compliant with its location. The NF C 15-100 standard divides the bathroom into volumes (0, 1, 2, and outside volume), each imposing a minimum IP protection rating for the electrical equipment installed.
The closer the mirror is to a water point, the higher the required IP rating. A mirror located just above the sink, in volume 2, requires at least an IP44. If the mirror overlooks the bathtub or shower (volume 1), the requirement rises to IP44 or even IP65 depending on the configuration.
The trap when replacing: installing an LED strip with an IP rating lower than that of the original module. This often happens with kits purchased online, designed for generic decorative use and not for a wet room. Checking the IP rating of the replacement LED is a non-negotiable precaution.
Identifying the volume of your mirror
- Volume 0: inside the bathtub or shower tray. No standard LED lighting is allowed here.
- Volume 1: area above the bathtub or shower up to a defined height. Only equipment powered by very low safety voltage (TBTS) is allowed here.
- Volume 2: a band of 60 cm around volume 1. This is the most common location for an LED mirror above the sink. Minimum IP44 required.
- Outside volume: beyond 60 cm from volume 2. Constraints are relaxed, but an IP20 remains the minimum recommended for any electrical device in a bathroom.
LED failure diagnosis: transformer or light strip
When the lighting of a bathroom mirror stops working, the LED is not always to blame. The transformer (or LED driver) that converts mains current to low voltage may be faulty. Replacing the LED strip when the problem lies with the driver is an unnecessary intervention and an avoidable expense.
A multimeter can help determine the issue. By measuring the output voltage of the transformer, you can check if it delivers the expected voltage (often 12 V or 24 V DC). If the voltage is absent or unstable, the transformer is the part to replace, not the LED.
Signs indicating an LED problem
Lighting that works in sections, with some segments off or dimmer than others, points to degradation of the LED strip itself. Similarly, a change in hue (turning yellow or blue) indicates aging LEDs rather than a power supply issue.
If the entire lighting suddenly turns off or flickers uniformly, the transformer or a loose connection in the wiring are the primary suspects.
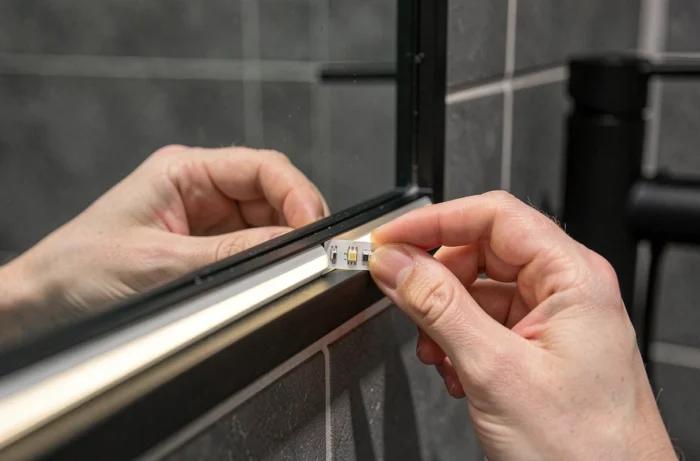
Choosing the right replacement LED for a bathroom mirror
Compatibility is not limited to the IP rating. Three technical parameters determine the final result.
The supply voltage must match exactly that of the existing driver. Connecting a 24 V strip to a 12 V driver produces insufficient lighting. The reverse will burn out the strip in a few minutes.
The color temperature, expressed in kelvins, determines the lighting ambiance. LEDs that are too cool (above 6,000 K) distort skin tones. For a bathroom mirror used daily, a light between neutral white and warm white provides a more accurate rendering.
The length of the LED strip should be measured before purchase. Strips can be cut at regular intervals (every 5 or 10 cm depending on the models), but a strip that is too short will leave dark areas. It is better to buy slightly longer and trim on-site.
Adhesive or profile: the fixation question
Self-adhesive LED strips lose their adhesion in a humid environment. In the bathroom, an aluminum profile with a diffuser offers a durable fixation and protects the strip from moisture. This detail makes the difference between a replacement that lasts several years and lighting that peels off after a few months.
Electrical safety before and during the intervention
Turning off the power at the circuit breaker dedicated to the bathroom is the absolute prerequisite. Working on a live LED mirror exposes you to the risk of electrocution, even at low voltage, especially in a humid environment.
- Turn off the circuit breaker and check for the absence of voltage with a tester or multimeter before touching the wiring.
- Work on a dry surface. If the mirror is mounted above a sink, wipe any water traces from the wall and countertop.
- Never connect wires with a terminal block without an insulating cap in a wet area. Prefer waterproof connectors like Wago gel or equivalent.
A well-executed bathroom mirror LED replacement takes less than an hour, including diagnosis. The real difficulty is not in the action itself, but in the checks that surround it: mirror class, IP rating, driver voltage, installation volume. Neglecting any of these points turns a simple operation into a source of malfunction or even danger.