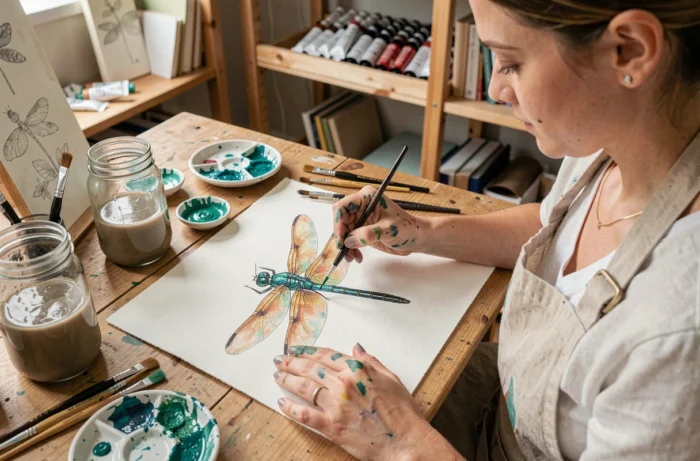
Painting a dragonfly in watercolor presents a precise challenge: rendering the transparency of the wings without overloading them with pigment. The subject seems simple, but it relies on technical choices made beforehand, particularly the paper and the management of whites, which condition the success far more than the brushstroke itself.
Watercolor Paper and Sizing: The Technical Foundation of a Successful Dragonfly
Most video tutorials show the gesture without ever focusing on the support. Yet the paper determines the ability to achieve even washes, layered glazes, and especially to keep clear areas intact.
Properly sized paper limits the uncontrolled penetration of water into the fibers. On a too-absorbent support, the color sinks in and can no longer be removed, making any corrections impossible on the wings. The sizing of the paper conditions the final transparency of the wings.
In practice, a sufficiently dense weight also prevents buckling, a deformation phenomenon that appears as soon as the paper absorbs too much water. For a dragonfly where light washes are central to the subject, buckled paper compromises the fluidity of the gradients and creates pigment accumulations in the hollows.
Before starting, those who want to draw a dragonfly in watercolor on X Anima will find a complementary approach to the preparatory drawing, which facilitates the transition to painting.
Reserving the White of the Wings in Watercolor: Three Compared Approaches
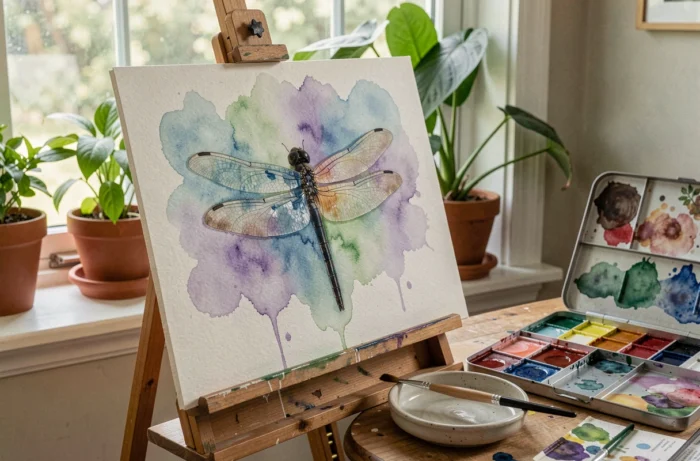
In watercolor, white does not exist in the palette. It comes from the paper itself. For the wings of a dragonfly, it is this absence of pigment that creates the effect of transparency and light passing through.
Three methods stand out, each with its constraints:
- Leaving the paper intact by painting around the clear areas. This approach requires great precision in the gesture and a well-defined preliminary drawing, but it yields the most natural result.
- Using masking fluid to protect the white areas before applying the washes. Masking frees the gesture since one can paint over it without fear, but it carries a risk: the masking fluid can damage the surface of the paper if left on too long or removed too aggressively.
- Removing the pigment after drying with a clean, damp brush. This technique allows for recovering light afterward, but it heavily depends on the sizing of the paper. On poorly sized support, the pigment embeds and cannot be lifted.
For masking fluid, a preliminary test on a strip of the same paper is recommended. Applying the fluid, letting it dry for the specified time, and then removing it allows for checking that the surface remains intact. A test on a scrap of the same paper avoids unpleasant surprises.
Protecting Brushes from Masking Fluid
Short tutorials rarely mention this point: masking fluid damages fine brushes. Coating the bristles with a film of liquid soap before dipping them in the fluid makes cleaning easier. A dedicated, inexpensive brush remains the safest solution.
Successive Glazes to Suggest Veins and Depth
The wings of a dragonfly are not uniformly transparent. They feature veins, iridescent reflections, and more opaque areas near the body. To render this complexity, successive glazes are the most suitable technique.
The principle is simple: each layer of very diluted color must dry completely before applying the next. If the lower layer is still wet, the pigments mix uncontrollably and produce a muddy flat instead of a layering effect.
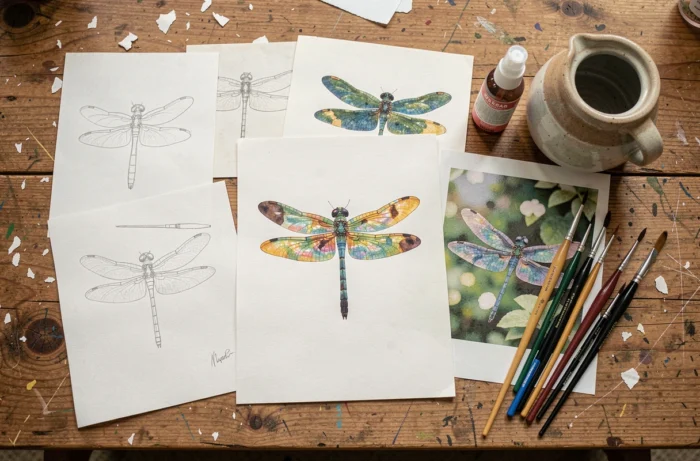
For the veins, a fine-tipped brush allows for drawing lines on a dry layer. The chosen color depends on the species represented, but a very diluted mix works better than a saturated color. Real veins are subtle, almost translucent.
Managing the Wet-on-Wet Technique for the Body
The body of the dragonfly, on the other hand, lends itself well to the wet-on-wet technique. Wetting the body area and then applying color allows for fluid gradients between the thorax and abdomen. The segments of the body can be marked afterward, once the layer is dry, with fine, darker lines.
The contrast between the wings treated with dry glazes and the body treated with wet-on-wet creates a texture contrast that brings the subject to life. The dry/wet contrast distinguishes the wings from the body and visually reproduces the difference in material between the opaque chitin and the translucent membrane.
Common Mistakes and Limitations of Learning Through Video Tutorials
Video demonstrations of a few minutes provide an accelerated view of the process. They do not show the actual drying times, which can represent the majority of the working duration on a dragonfly painted in glazes.
Three mistakes frequently recur among beginners:
- Applying a second layer before complete drying, which destroys transparency and produces shapeless stains on the wings.
- Using too much pigment out of fear that the color will not be visible. In watercolor, it’s better to have several light layers than one saturated layer.
- Neglecting the preliminary pencil drawing. The approximate symmetry of the wings and the proportions of the body require a light but precise sketch before any coloring.
Field feedback varies on the necessity of stretching the paper before starting. Some watercolorists stretch their sheet on a rigid support with adhesive tape, while others work on a block glued on all four sides. The choice depends on the weight of the paper and the amount of water used.
The watercolor dragonfly remains a subject that rewards patience. Each layer that dries before the next brings the result closer to that characteristic transparency that quick videos make seem spontaneous but which relies on methodical construction, layer by layer.