Laminating a sheet of paper involves encasing it between two layers of clear plastic film to make it rigid, waterproof, and resistant to repeated handling. There are three main approaches to achieve this at home: hot laminators, cold self-adhesive pouches, and alternative methods without machines. Each relies on a different physical principle, which affects the durability of the result over time.
Laminating with a flat iron: a viral method with poorly documented limits
For a few years now, videos on TikTok and Instagram have shown how to laminate small formats (cards, labels, color samples) using a simple hair straightener. The principle is the same as that of a hot laminator: the heat from the plates melts the thermal adhesive inside a laminating pouch, which then adheres to the paper as it cools.
The technique works, but it has constraints that are rarely mentioned. The straightener heats unevenly across the width of the pouch. On a business card or bookmark size, this is not an issue. On an A5 sheet or larger, poorly sealed areas almost always appear, especially towards the center of the document.
The other limitation concerns durability. A pass through the straightener does not maintain the temperature as long or as consistently as a dedicated laminator. The film sticks, but the bond remains more fragile. For a document handled every day (schedule, recipe sheet displayed in the kitchen), peeling can occur after a few weeks. To learn how to laminate a sheet of paper with a durable result, this method is therefore only suitable for small temporary formats.

Cold self-adhesive pouches: the material that changes the result
Cold lamination relies on an adhesive film that is manually pressed onto the document, without heat. It is the most accessible method: no need for an electric device, no temperature adjustment.
The classic pitfall is the air bubble. Contrary to popular belief, the problem does not come from the film itself, but from the application technique. Applying the film from the center creates pockets. The reliable technique involves peeling the protective film from one edge, aligning that edge with the document, and then gradually smoothing it down with a flat ruler or a rigid card, moving forward centimeter by centimeter.
Criteria for choosing a self-adhesive pouch
- The thickness of the film influences the final rigidity. A thin film is suitable for a bookmark or label, while a thicker film stiffens the document to the point of making it almost cardboard-like.
- The matte finish reduces glare and facilitates reading under direct lighting, while the glossy finish intensifies the colors of a photo or drawing.
- The size of the pouch must exceed the document by at least one centimeter on each edge to ensure a complete peripheral seal.
Cold lamination also preserves documents sensitive to heat: inkjet prints where the ink smudges above a certain temperature, thermal papers like receipts, or old photographs.
Home hot laminator: settings and common mistakes
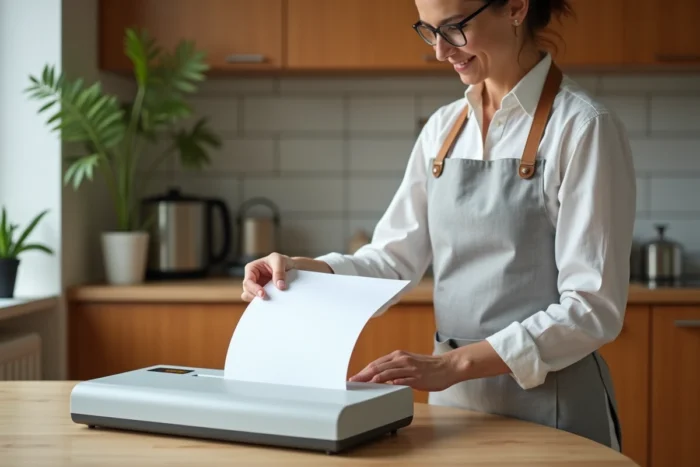
A home laminator works by passing the document, inserted in a thermal pouch, between two heated rollers. The adhesive melts due to the heat, then solidifies as it cools to form a waterproof envelope.
The most common mistake is starting the pass before the machine has reached its operating temperature. Most home models have a light indicator that turns green when heating is complete. Ignoring this signal results in partial lamination, with opaque areas or cloudy bubbles that are impossible to correct.
Direction of pouch insertion
The pouch is always inserted with the sealed edge (the fold) first. This technical detail has a mechanical reason: the rollers press the air towards the opening of the pouch as they advance. Inserting from the open edge traps air inside and creates bubbles across the surface.
The document must be centered in the pouch before insertion. A shift of just a few millimeters is enough for one edge of the paper to protrude from the film, leaving an unprotected area and weakening the opposite corner.
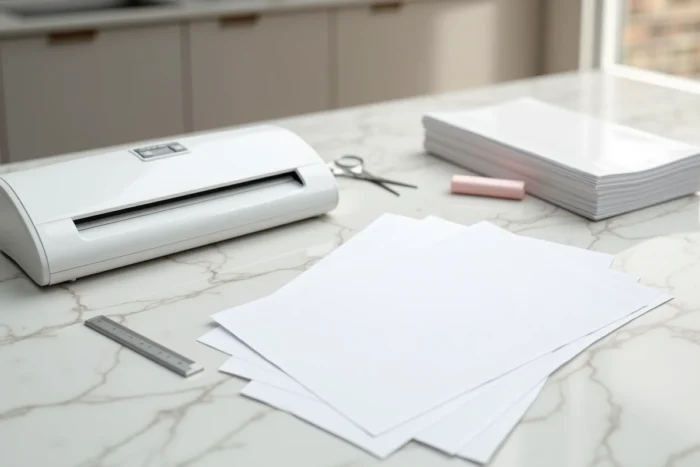
Laminating without waste: targeted cutting and reusing scraps
A recent trend among teachers and parents practicing Montessori education is to stop laminating entire sheets, but only the areas that are actually handled. Instead of laminating a complete sheet of labels, the labels are first cut out, then grouped in a single pouch leaving a welding space between each element.
This approach reduces the number of pouches used. It also allows for recovering scraps of blank film to laminate small elements later: nomenclature cards, pictograms, color dots.
Tip for non-standard formats
To laminate a size smaller than A4 without a machine that accepts small formats, simply slide the document into an A4 pouch while adding a sheet of ordinary paper as a guide on the empty side. This sheet prevents the melted film from sticking directly to the rollers, which could damage the machine.
- Place the small document against the sealed edge of the pouch.
- Fill the remaining space with a sheet of the same thickness.
- After passing through, cut the film around the document, leaving a margin of a few millimeters.
- Keep the scrap for future use if the remaining surface is sufficient.
Laminating at home does not require any special skills, but the quality of the result depends almost entirely on two parameters: the right choice between hot and cold methods depending on the type of document, and the precision of the technique during application. A poorly applied film is difficult to replace without damaging the original paper, making the first attempt crucial.